Making a Pinch Pot
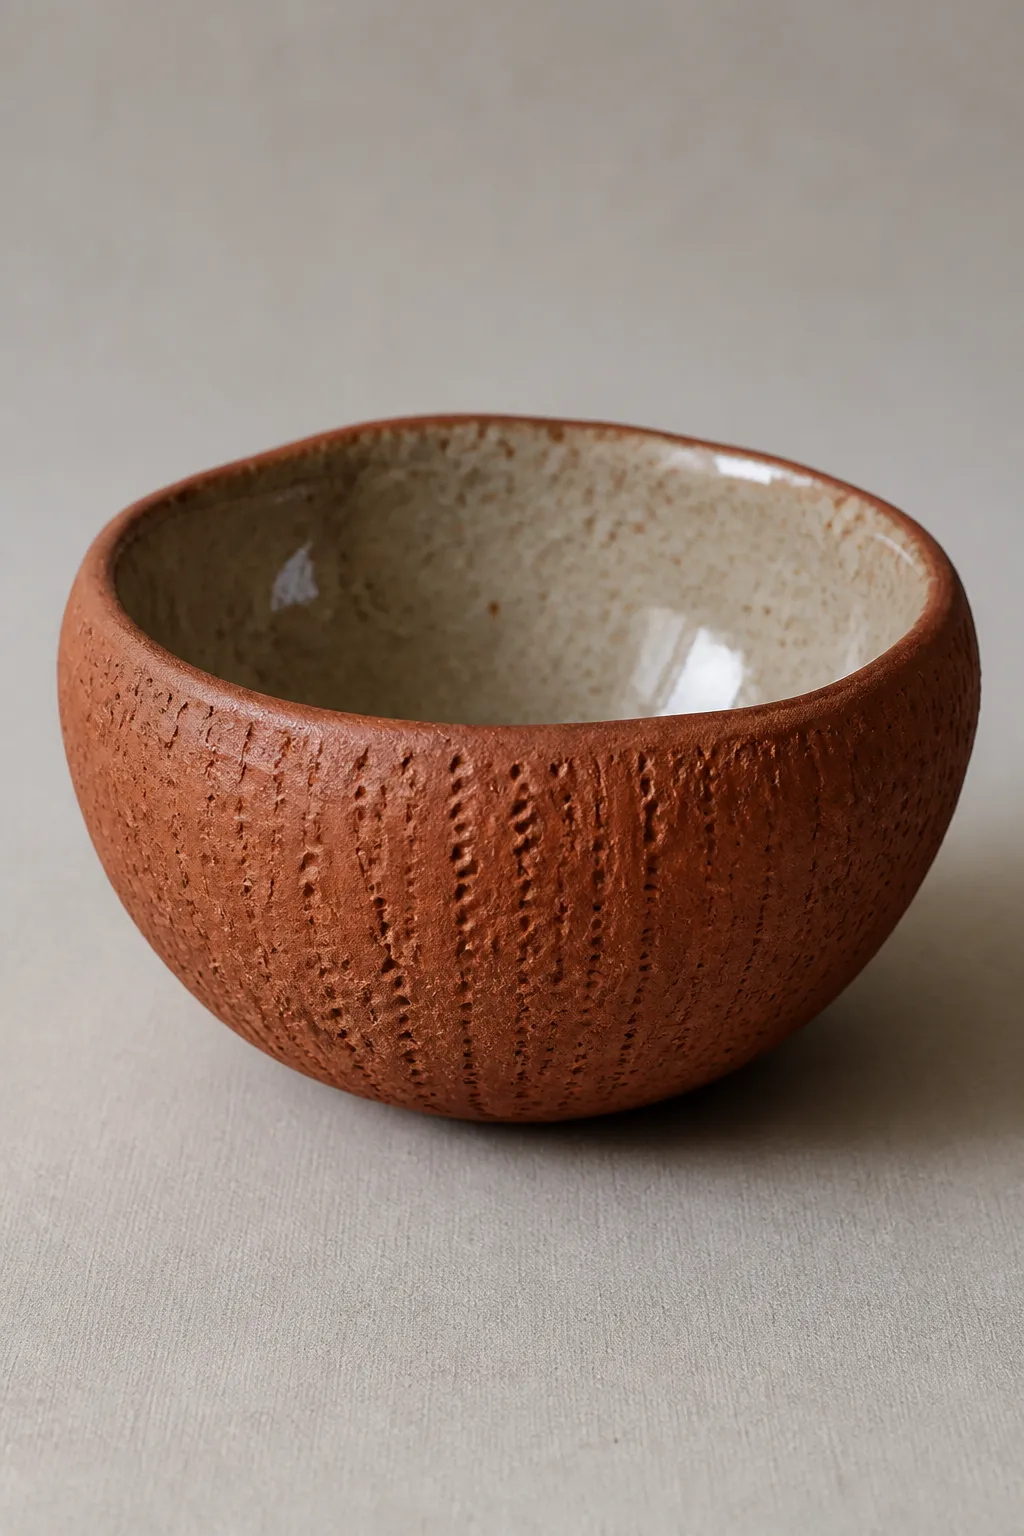
A Pinch Pot is one of the oldest and most direct forms of handbuilt ceramics. It begins with a simple ball of clay and develops through careful pressure from the fingers and thumb. Students often learn this method early because it teaches the basic behavior of clay, including wall thickness, moisture control, and form. A Pinch Pot may look simple, but it builds essential skills that support later work in slab building, coil construction, and wheel throwing.
|
Archaeologists have found pinch-made vessels in many ancient cultures, which shows that this method has a long and practical history. Early makers used hand-formed pots for storage, cooking, and ritual purposes long before the potter’s wheel became common. In that sense, the Pinch Pot connects modern students to one of the earliest ceramic traditions in human history. Its lasting value comes from the fact that a maker can create a useful vessel with very few tools. |
 |
Instructions
- To begin, gather the needed materials. You need plastic clay, a small container of water, a sponge, a wooden or metal rib if available, and a smooth work surface. Some teachers also provide a needle tool, a modeling tool, and a banding wheel, although these are not required for the basic form. The most important material is clay that is soft enough to shape but firm enough to hold its structure.
- Before shaping the clay, wedge it well. Wedging aligns the clay body, removes many air pockets, and creates a more even consistency. This step matters because trapped air and uneven moisture can cause cracking or weak spots later, especially during drying and firing. After wedging, roll the clay into a smooth sphere about the size of a small orange, depending on the size of the pot you want to make.
- Hold the clay ball in one hand and press your thumb into the center with the other hand. Do not push all the way through. Leave a clay base at the bottom that is thick enough to support the form, usually about 1 centimeter for a classroom project unless the teacher directs otherwise. This first opening establishes the interior of the vessel and sets up the next stage of shaping.
- Once the thumb hole is formed, rotate the clay slowly while pinching the walls between your thumb and fingers. Use gentle, even pressure rather than strong squeezing. Each pinch should thin the walls a little at a time as you move around the entire piece. This circular process helps the pot grow upward and outward while keeping the shape balanced.
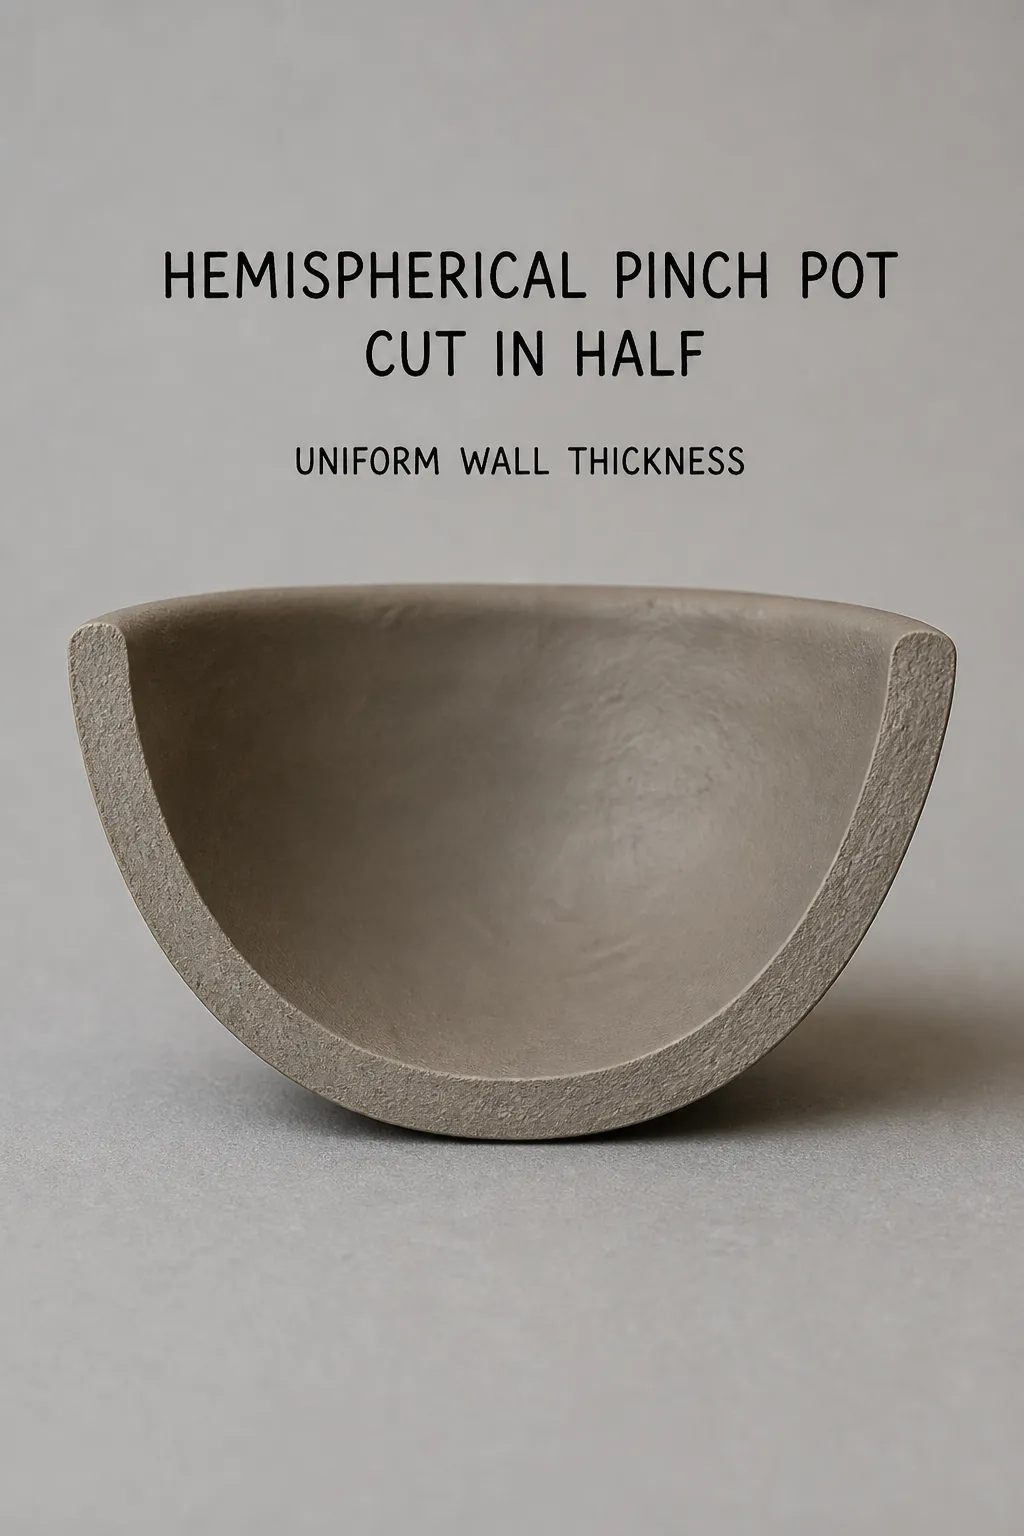 Uniform thickness is a virtue in ceramics. Even wall thickness helps prevent cracks in your pottery.
- Pay close attention to wall thickness as you continue. A well-made Pinch Pot usually has walls that are even from top to bottom, which helps the piece dry at a consistent rate. If one area becomes too thin, it may crack or collapse. If one area stays too thick, it may dry more slowly than the rest of the vessel. Ceramics often reward patience, so slow, repeated pinching works better than rushing.
- As the walls rise, begin refining the form. You may shape the vessel into a bowl, cup, or small rounded container. Smooth the interior with a finger, sponge, or rib to compress the clay particles and reduce rough marks. Compression strengthens the surface and can help prevent cracks, especially at the rim and base. At this stage, students may start to see how small changes in pressure create major changes in form.
- The rim deserves special care because it is exposed and often fragile. Check that the rim is level and not too thin. Compress it gently by running fingers around the edge, or smooth it with a damp sponge. A strong rim improves both appearance and function. In ceramic design, the rim often influences how a vessel feels in the hand and how finished it appears.
- If the clay becomes too wet, stop and let it firm up to a leather-hard stage before continuing. If it becomes too dry, add only a small amount of water and smooth carefully. Too much water weakens the structure and turns the surface muddy, while too little water can cause tearing. Managing moisture is one of the most important technical lessons in ceramics, and the Pinch Pot teaches this clearly.
After the basic shape is complete, students can add decoration. They may press patterns into the surface, carve lines, or attach small handles, feet, or coils. Before attaching any new clay pieces, score both surfaces and apply slip so the join will bond well. Surface design can introduce texture, which changes how light moves across the pot and how the pot feels when held. These choices allow for artistic inventiveness while still respecting the structure of the form.
Teachers often
encourage students to think about both function and expression. Will the
pot serve as a small bowl, a candle holder, or a sculptural object? The
answer affects the shape, opening, and base. A wider form may suit a
bowl, while a narrower neck may suggest a vase-like container. Even in a
simple classroom project, students practice design thinking when they
connect form to purpose.
- Drying is the next critical stage. Let the finished pot dry slowly and evenly, preferably under plastic for part of the time if the classroom is warm or dry. Slow drying reduces stress in the clay body and lowers the chance of cracking. The piece must become bone dry before it enters the kiln. Bone-dry clay feels room temperature and contains no visible moisture.
- The first kiln firing is called the bisque firing. During this stage, the clay changes permanently from a fragile dry material into a hard ceramic form. After bisque firing, the pot becomes easier to handle and ready for glaze. Teachers may use this stage to explain that fired clay cannot return to its original soft state. This transformation is one reason ceramics combines art with material science.
- If the project includes glazing, apply glaze in thin, even coats after the bisque firing. Avoid putting glaze on the bottom unless the teacher provides a special method, because glaze melts in the kiln and can stick to the shelf. The choice of glaze can highlight form and texture, deepen color, and change the final surface from matte to glossy. After glazing, the piece returns to the kiln for the glaze firing.
Tips
Several common problems
appear in beginner work, and each one offers a useful lesson. Cracks
often come from uneven thickness, weak joins, or drying too quickly.
Collapse usually happens when the walls are pinched too thin or when the
clay becomes overworked and soft. A lopsided form may result from
uneven rotation or pressure. By identifying these issues, students learn
to evaluate craftsmanship as well as creativity.
The educational
value of the Pinch Pot is significant. It teaches hand skills,
observation, planning, and revision. It also gives students a clear
example of cause and effect: if they alter pressure, moisture, or
thickness, the result changes. For teachers, this project works well
because it combines history, studio practice, and technical vocabulary
in one manageable activity. Students can complete a successful piece
while also learning deeper ceramic principles.
In the end, making
a Pinch Pot is a structured but creative process. Students wedge the
clay, form a ball, press a thumb opening, pinch evenly, refine the
walls, smooth the rim, decorate the surface, dry the piece, and fire it
in stages. These steps are simple enough for beginners, yet rich enough
to introduce serious ceramic ideas. Because of that balance, the Pinch
Pot remains a valuable classroom project and an enduring form in the
history of ceramics.