Glazing Ceramics
|
Glazing ceramics projects is the stage when a fired clay piece receives a glasslike coating that adds color, surface texture, and water resistance. In most school studios, students will glaze their work after the first firing, the bisque firing. Bisque ware is strong enough to handle, yet porous enough to accept glaze. This step can feel exciting and stressful at the same time because the final appearance of the piece may be surprisingly different from what students anticipate. The glazing process is easily accessible to students, even when applying glaze for the first time. |
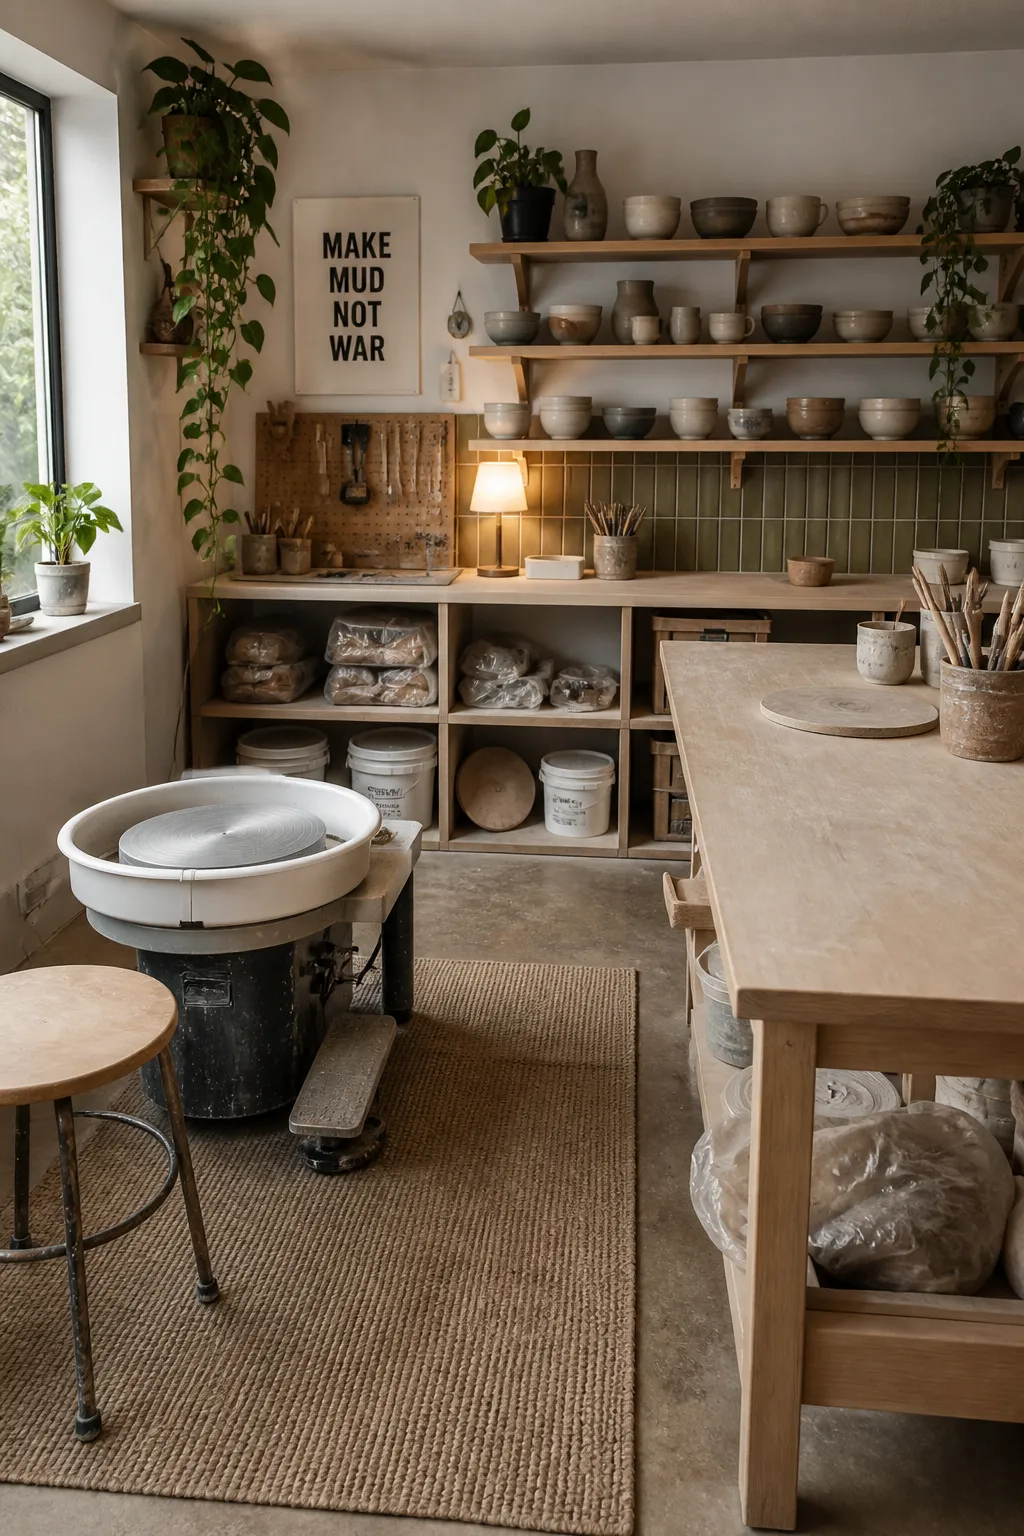 A clean workspace will help for glazing your pots. A clean workspace will help for glazing your pots. |
Preparation
|
Before students begin, they should understand what glaze does and what it does not do.
Students should remember that sample tiles are important guides, but even then, kiln temperature, glaze thickness, and clay body can affect the outcome. In school ceramics rooms, this basic knowledge supports stronger decisions and better craftsmanship. |
SafetySafety is the first priority in any glazing ceramics project in schools.
These habits protect both individual health and the shared studio environment. |
Preparation begins with the bisque-fired ceramic piece.
- Students should inspect the surface closely and remove dust with a clean, slightly damp sponge.
- They should check for rough spots, cracks, or chips, because glaze can highlight flaws instead of hiding them.
- The bottom of the piece must stay free of glaze so it will not melt onto the kiln shelf during firing. In many classrooms, teachers ask students to wipe the foot, base, or bottom edge carefully and leave a clear margin. This small step prevents major kiln problems and shows respect for studio equipment.
Planning the
design is just as important as applying the glaze.
- Students should study test tiles, glaze charts, and teacher examples before they begin.
- They should decide whether they want a solid color, layered colors, or contrasting inside and outside surfaces.
- A helpful step might be to sketch ideas and label glaze choices before touching the piece. This planning reduces random decisions and helps students understand that ceramic finishing is both technical and creative. A clear plan also makes it easier to choose the best application method: brushing, dipping, or pouring.
Students
should also prepare their tools and workspace.
- Common glazing tools include brushes, tongs, a ladle, a container for pouring, a sponge, wax resist if the teacher provides it, and a pencil for labeling shelves or glaze notes.
- Students should stir each glaze thoroughly because heavier materials settle at the bottom. If the glaze is not mixed well, the color and surface may come out uneven. Teachers often demonstrate how to stir slowly from the bottom of the bucket without splashing.
- Good preparation saves time and improves results throughout the glazing ceramics projects process.
Brushing
Brushing is often the easiest method for beginners because it gives students control over where the glaze goes. To brush glaze, students dip a soft brush into the glaze and apply it in smooth, even strokes across the bisque surface. They should avoid scrubbing back and forth too much because this can lift earlier coats and create streaks. Most classroom glazes require several coats, often two to three, though students must always follow the teacher’s directions for that specific glaze. Each coat should dry slightly before the next one goes on.
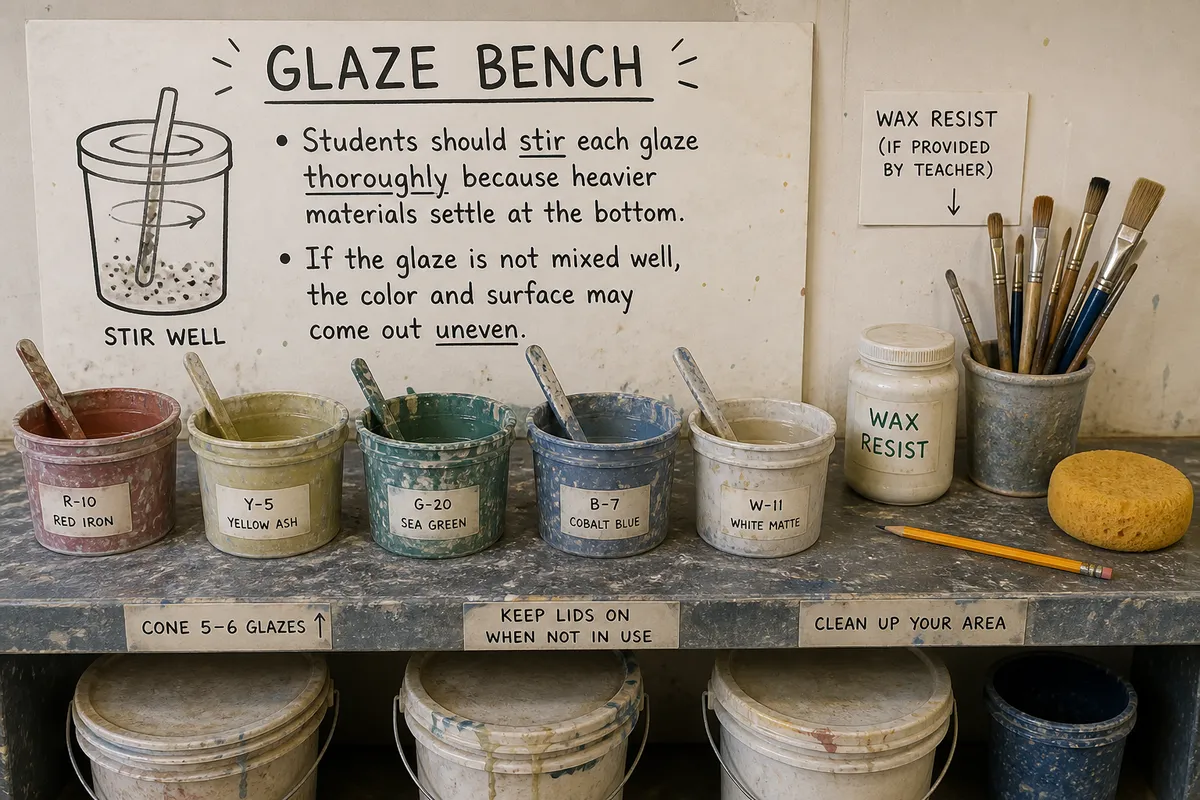 Keep your glazing work area organized and clean for better results.
To brush successfully, students should watch for thickness and coverage. If the glaze looks thin and patchy, the fired piece may appear dull or uneven. If the glaze is too thick, it can drip, crawl, or fuse to the kiln shelf. Students should brush in one direction for the first coat and a different direction for the next coat to cover the surface more evenly. They should also keep glaze out of carved holes or textured areas if pooling might cause problems. Brushing works especially well for detailed surfaces, small projects, and layered decorative effects.
Dipping
Dipping is a faster method that covers a piece evenly in a short time. In many school studios, students use dipping when the glaze is stored in a bucket large enough to hold the form. To dip a piece, students hold the bisque securely, lower it into the glaze, and remove it after a brief count, often just one to three seconds depending on the glaze and teacher instructions. The glaze usually coats the porous surface immediately. Students then let excess glaze drip back into the bucket before setting the piece down carefully.
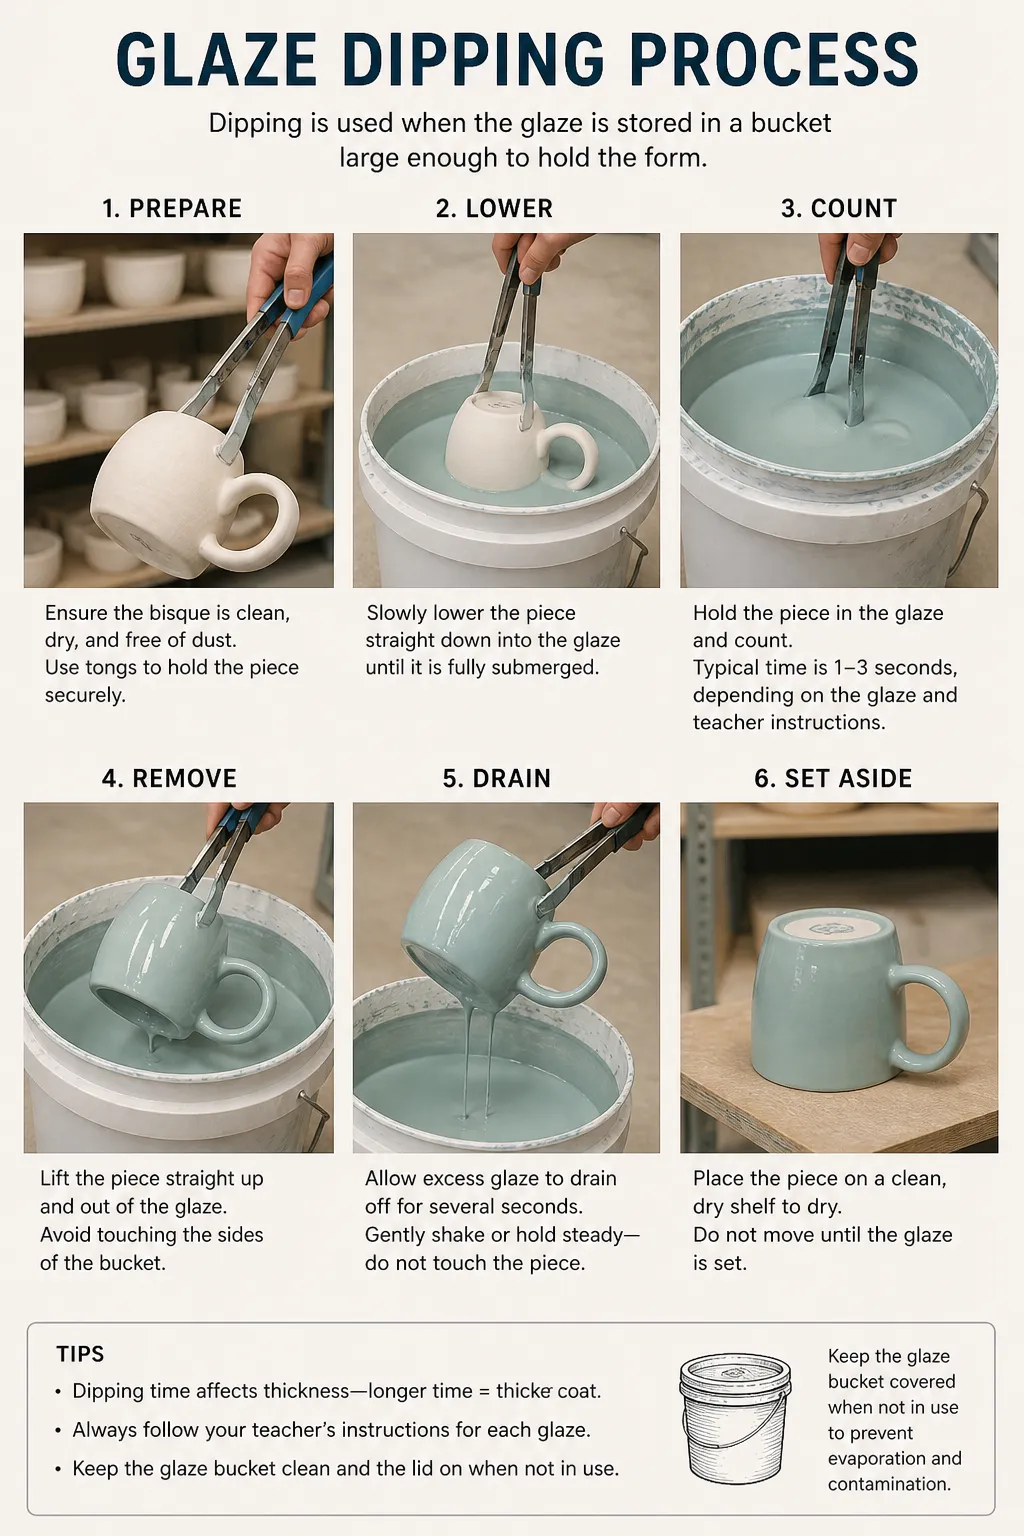
Dipping requires confidence, planning, and attention to handling marks. Students should decide where to hold the piece before they begin. If they use fingers or tongs, those contact points may need touch-up with a brush afterward. They should never leave the piece in the glaze too long because a thick coat can cause firing defects. Students must also avoid dipping the bottom or foot unless the teacher specifically directs otherwise. For bowls, cups, and simple forms, dipping often creates a smooth, professional-looking surface that many beginners find satisfying once they practice the motion.
Pouring
Pouring is another useful method, especially for glazing the inside of vessels such as cups, bowls, or vases. To pour glaze, students hold the ceramic piece over a glaze bucket or tray, pour glaze inside, rotate the piece so the liquid coats the interior walls, and then pour the excess glaze back out. This movement should be smooth and continuous. If students hesitate too long, the glaze may build up unevenly in one area. Pouring helps students glaze spaces that are difficult to reach with a brush and inefficient to coat by dipping.
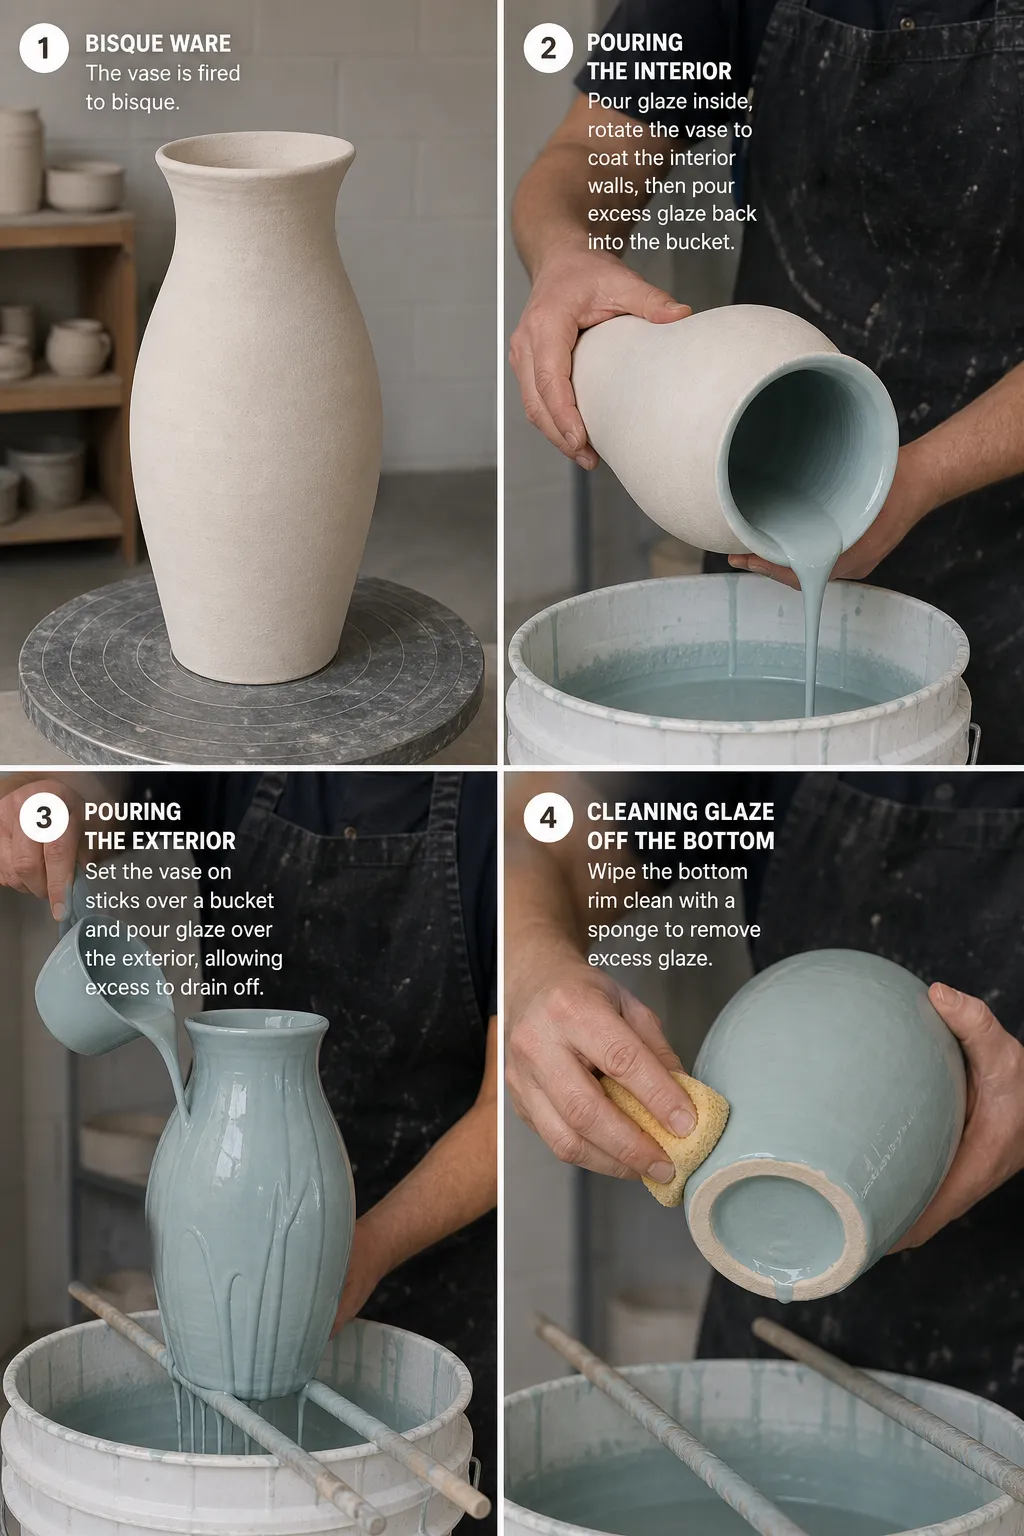 Pouring is a quick way to apply glaze. You will need lots of glaze and big buckets. Don't forget to wipe the foot of your pot.
Students can also use pouring on exterior surfaces, though this method requires more control. They may tilt the piece and pour glaze in a planned path so it flows across the surface. This can create attractive movement, layered drips, or blended color transitions, but it can also become messy if students do not work over a tray. Teachers should demonstrate how gravity affects the glaze and how quickly students must rotate the piece to prevent heavy buildup. For beginners, pouring often works best when used for interior coverage first and decorative effects second.
Drying
No matter which method students choose, drying time matters. Glaze usually loses its wet shine as it dries on the bisque surface, and this change helps students judge when to add another coat or switch methods. They should handle glazed work gently because dry glaze rubs off easily before firing. If students need to combine methods, such as dipping the outside and pouring the inside, they should follow the teacher’s sequence so fingerprints, smudges, and uneven layers stay to a minimum. Patience during drying leads to cleaner, more dependable results.
Clean Foot
After glazing, students must clean the bottom of the piece carefully. Even a small amount of glaze on the foot can melt in the kiln and stick permanently to the shelf. Students should use a damp sponge to wipe the base until it feels clean and looks free of shiny glaze. Many teachers inspect the bottom before placing work on kiln shelves, and this inspection is a standard part of responsible studio practice. This final check is one of the most important habits in glazing ceramics projects because it protects both the artwork and the equipment.
Tips
Students should also learn to recognize common glazing mistakes. Thick glaze can run, thin glaze can look bare, and dusty bisque can cause poor adhesion. If students apply one glaze over another without guidance, the combination may produce unexpected color changes or surface flaws. Brush hairs, fingerprints, and drips can remain visible after firing. Yet mistakes also teach valuable lessons. In ceramics history and in school studios today, artists improve by observing results carefully, comparing intended designs to actual fired outcomes, and adjusting their methods the next time they work.
The firing stage completes the process. During glaze firing, the coating melts and bonds to the clay body. This transformation explains why wet and dry glaze colors may seem misleading before firing. Once the kiln cools and is unloaded, students can evaluate their projects' shine, texture, coverage, and color response. Teachers often use this moment as both assessment and reflection. Students should note that ceramics involves chemistry, heat, timing, and design working together in one disciplined art form.
For novice artists success depends on clear routines and repeated practice. Students should watch for teacher demonstrations, modeling each action, posting step-by-step visuals, labeling tools, and teachers' short direct terms, such as...
- stir,
- brush,
- dip,
- pour,
- dry, and
- wipe foot.
These strategies make complex studio work more accessible without reducing its seriousness. Careful classroom attention turns glazing from a confusing final step into a learnable process. Over time, student artists build confidence and begin to understand why careful technique matters in every ceramics unit.
Summary
|
In the end, glazing ceramics projects combines artistic choice with precise studio habits.
When students follow these steps carefully, they produce stronger ceramic work and gain a deeper understanding of the craft. In a school setting, this process teaches patience, responsibility, and creative problem-solving at the same time. |
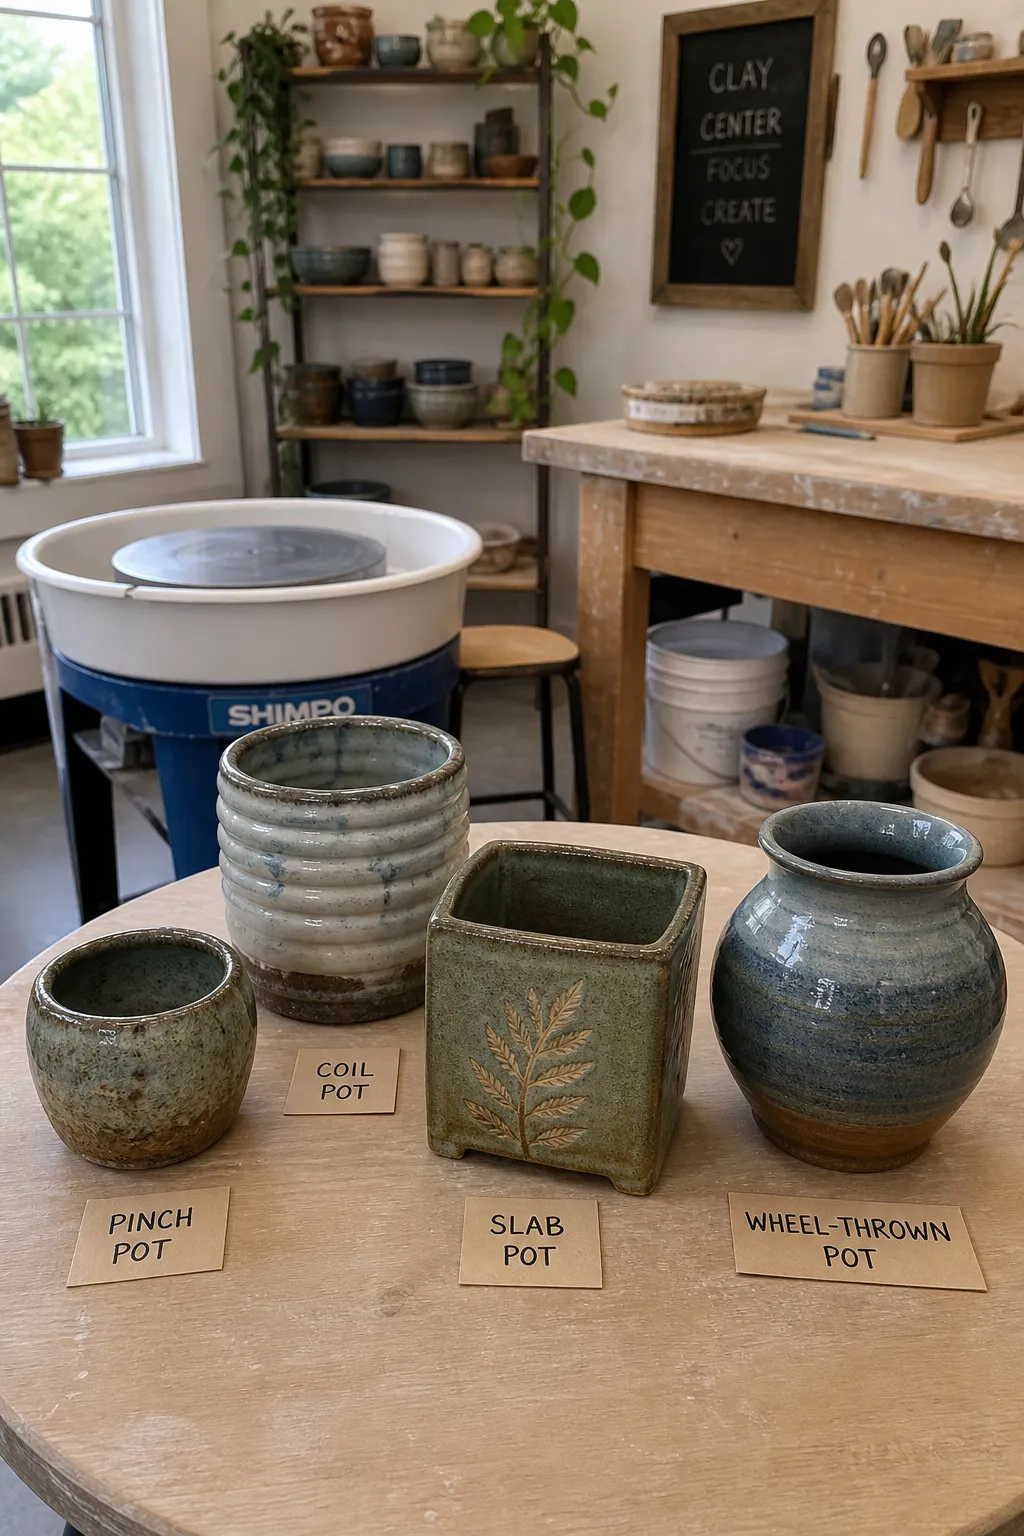 A clean and organized studio makes work easier. A clean and organized studio makes work easier. |