How to Make a Coil Pot
|
Here’s a simple step-by-step way to make a coil pot in ceramics class:
|
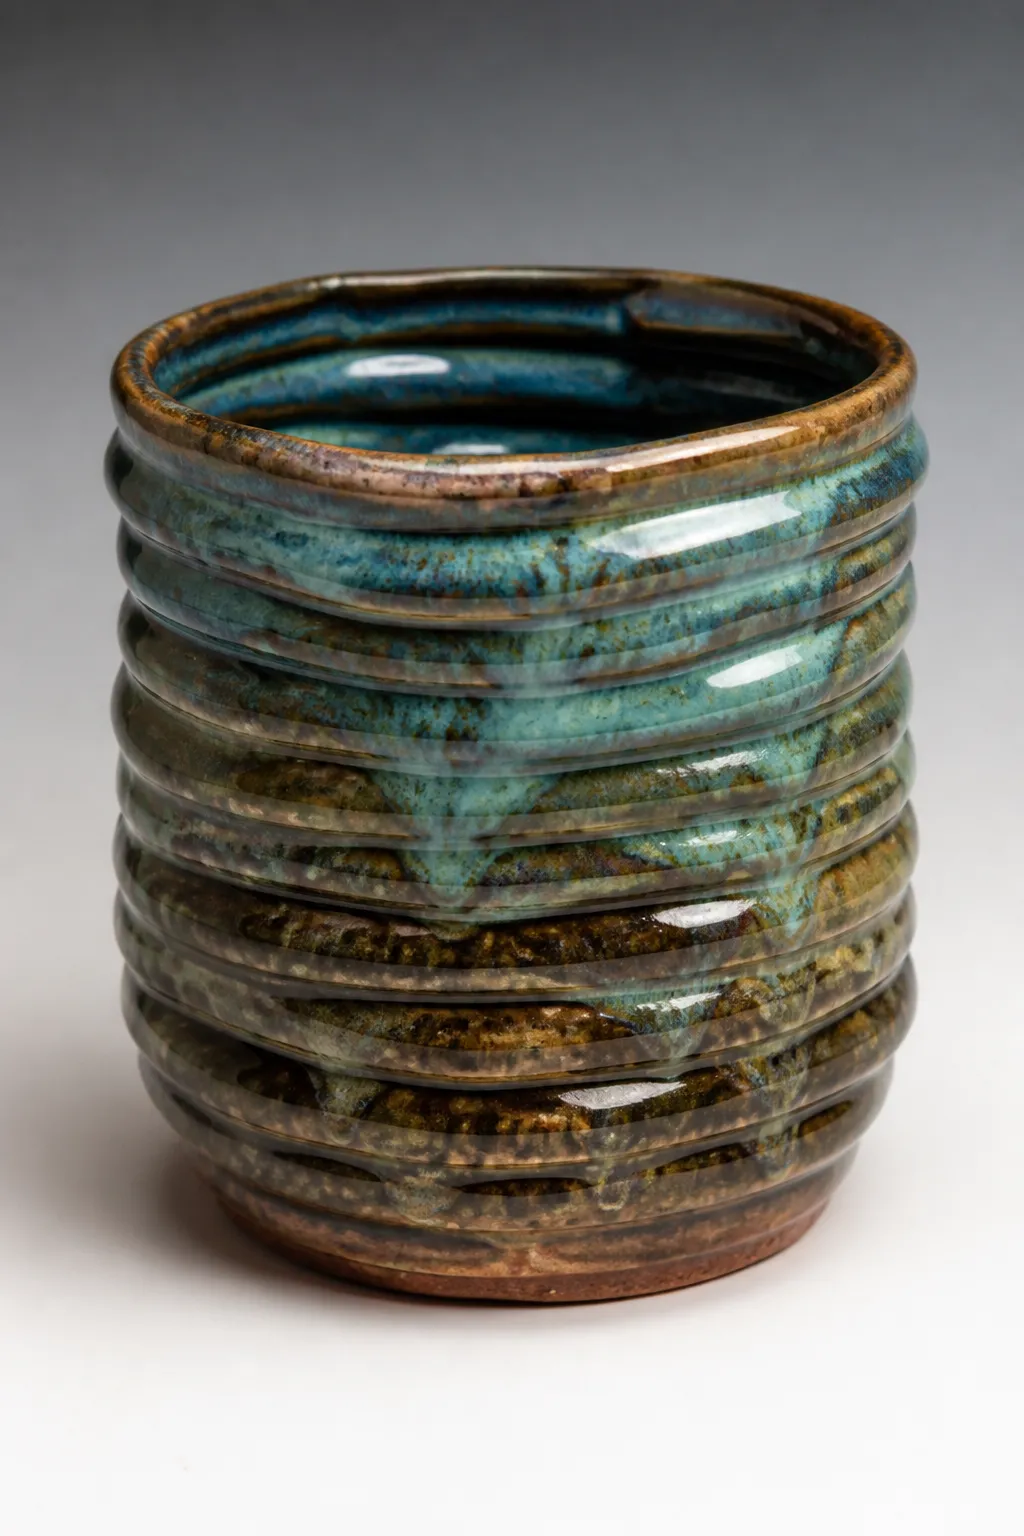 This coil pot stands on a circular base which leads the potter to add coils in a circular fashion, building a cylindrical cup. This coil pot stands on a circular base which leads the potter to add coils in a circular fashion, building a cylindrical cup. |
3. Roll the coils
- Take small pieces of clay and roll them on the table with your hands.
- Make long snake-like coils.
- Try to keep them even in thickness.
4. Score and slip
- Scratch the edge of the base where the coil will go.
- Scratch one side of the coil too.
- Add slip (wet clay mixture) to the scored parts to help them stick.
5. Attach the first coil
- Place the coil around the edge of the base.
- Gently press it on.
- Blend it slightly with your fingers or a tool so it joins securely.
6. Build the walls
- Add more coils on top, one at a time.
- Score and slip between each layer.
- Press them together gently.
- Stack coils straight up for a cylinder, outward for a bowl shape, or inward to narrow the top.
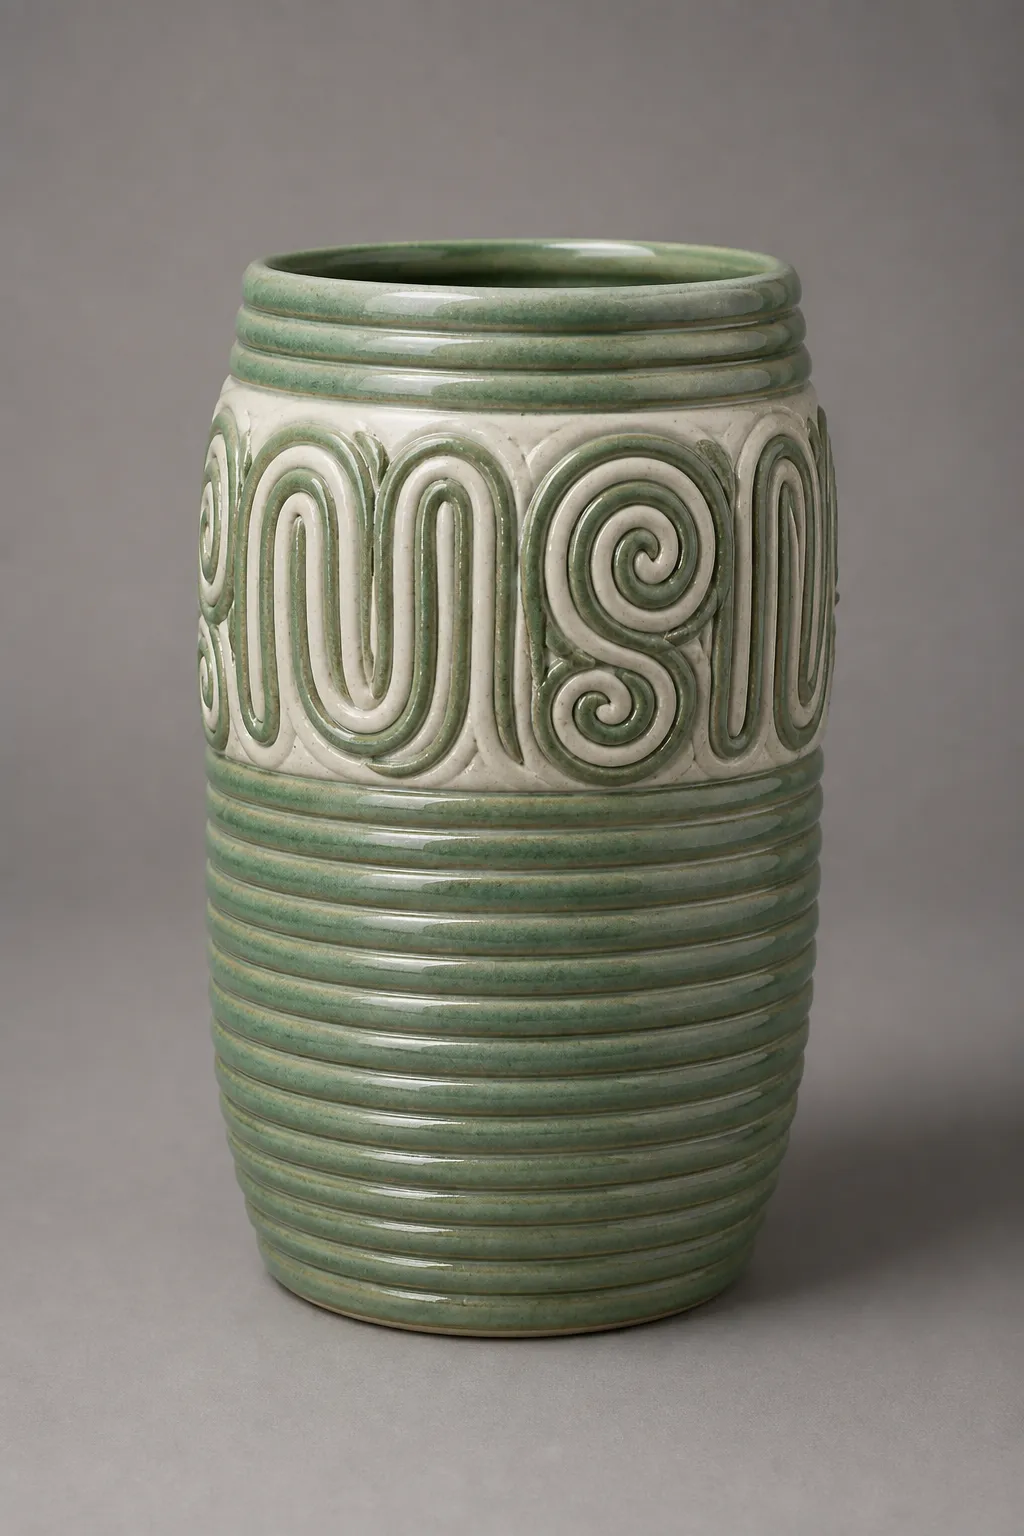 Leaving the coils revealed can be part of your design. Blending the coils on the interior (with slip and a blending stick) is an option for strengthening the coil attachments, one to the other.
7. Smooth the pot
- Blend the coils together on the inside, outside, or both, depending on the look you want.
- Use your fingers, a rib tool, or a wooden tool.
- Leave some coil texture if you want a decorative style.
8. Shape and refine
- Check that the walls are even.
- Smooth cracks with a little slip.
- Trim extra clay if needed.
- Make sure the bottom is attached well.
9. Decorate
- Add designs by carving, pressing textures, or adding small clay shapes.
- Do this while the clay is still leather-hard or soft enough to work with.
10. Let it dry
- Let the pot dry slowly and evenly.
- Cover loosely with plastic if needed so it doesn’t crack.
11. Fire and glaze
- Once bone dry, the pot is bisque fired in the kiln.
- Then glaze it if your class is doing glazing.
- Fire it again after glazing.
12. Show your teacher
- Before you take your project home, let your teacher see it for feedback and or a grade for your class.
Tips:
- Don’t make the walls too thick or too thin.
- Rotate the pot as you work.
- If the clay gets too dry, it may crack.
- If it gets too wet, it may slump.