How to make a Slab Pot
|
Here is an example of a mug constructed from slab pieces, refined for a smooth surface, and a choice of glaze color to match the clay body. |
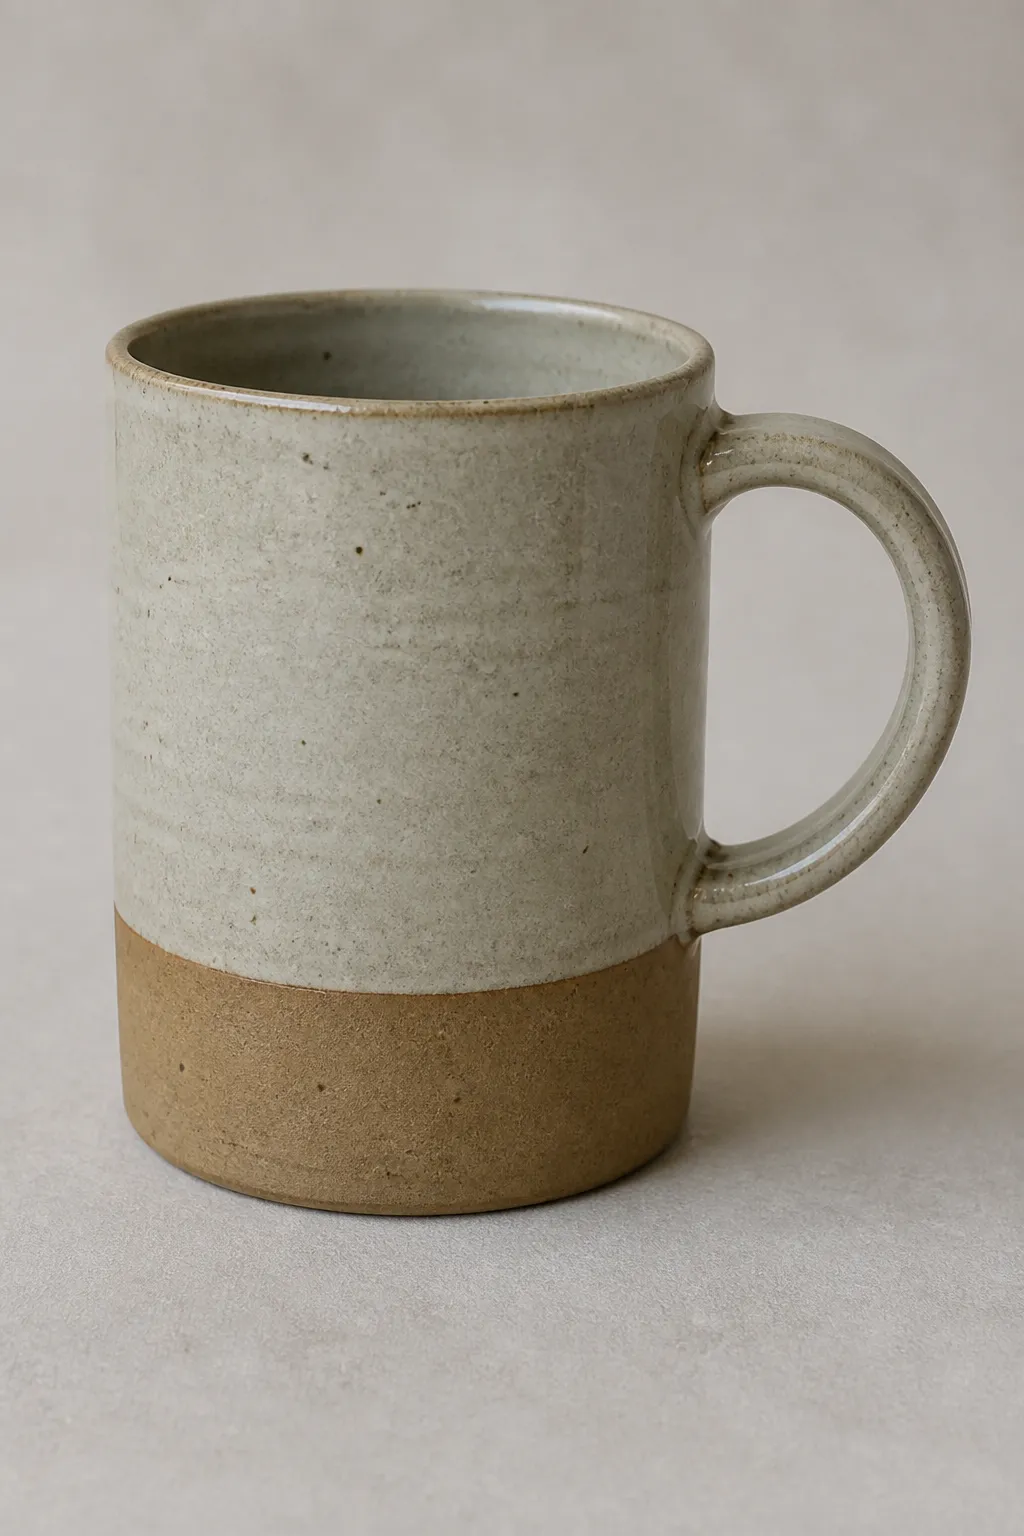 Slab Mug Slab Mug |
Here’s a simple way to make a slab pot in ceramics class:
1. Wedge the clay
- Knead the clay to remove air bubbles and make it even.
2. Roll out a slab
- Use a rolling pin or slab roller.
- Aim for an even thickness, usually about 1/4 inch.
|
3. Cut your shapes (For a cylinder shape, the base will be round and the wall can be a single piece of rectangular slab wrapped around to form a cylinder.) |
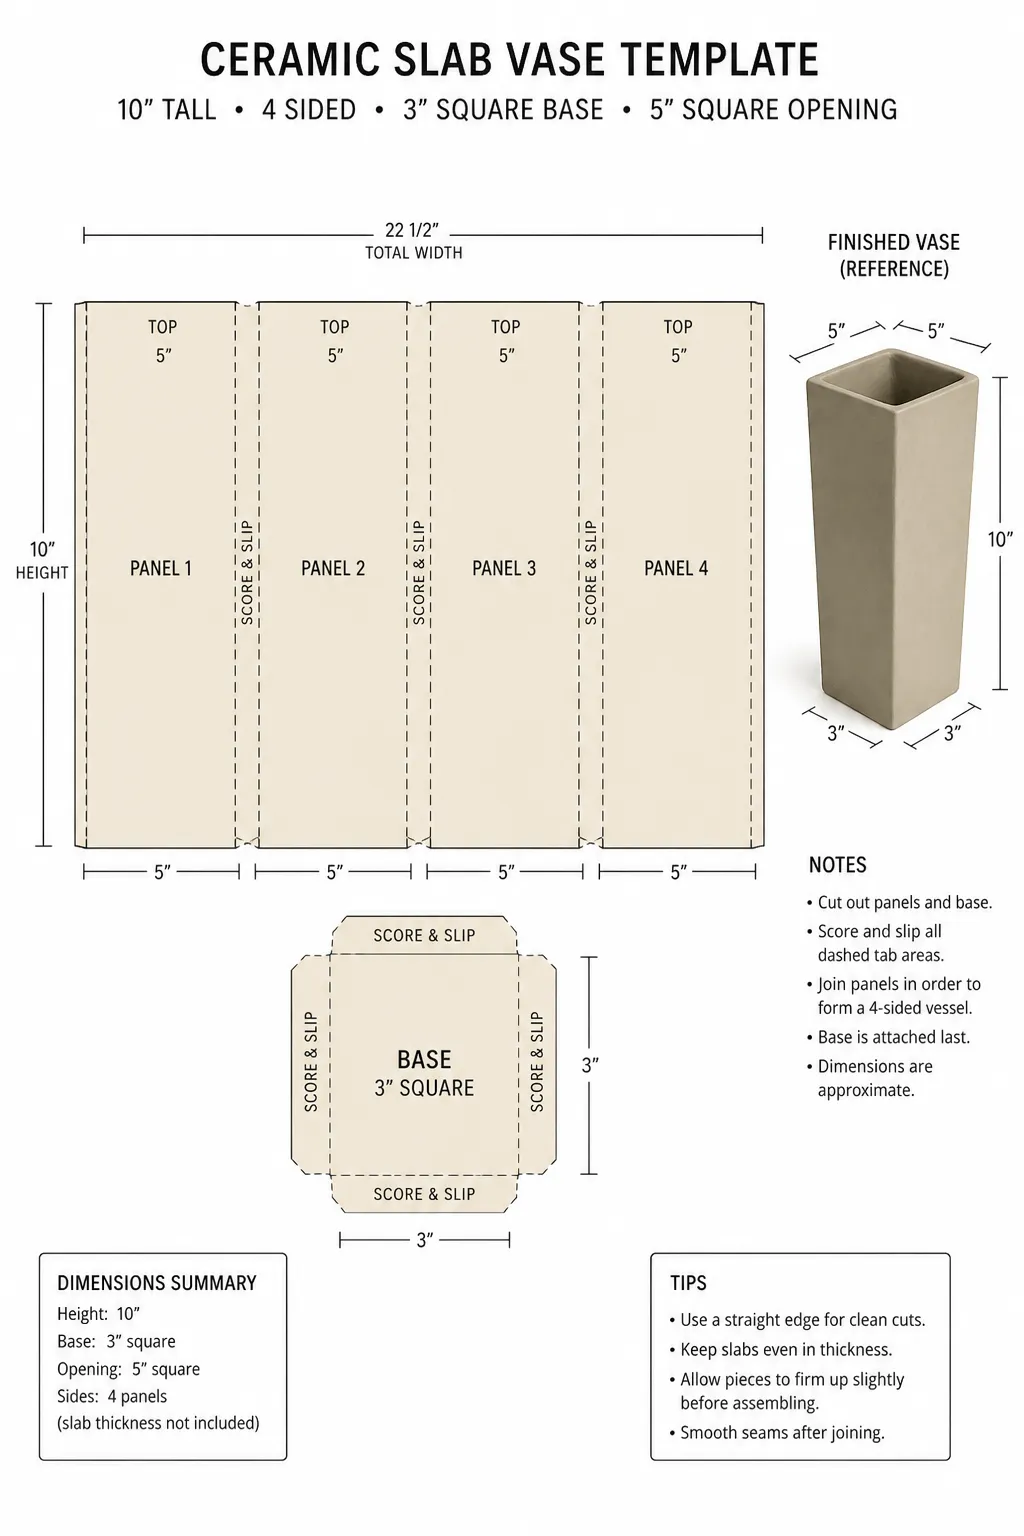 You can make your own template from paper, cardboard or tar paper. You can make your own template from paper, cardboard or tar paper. |
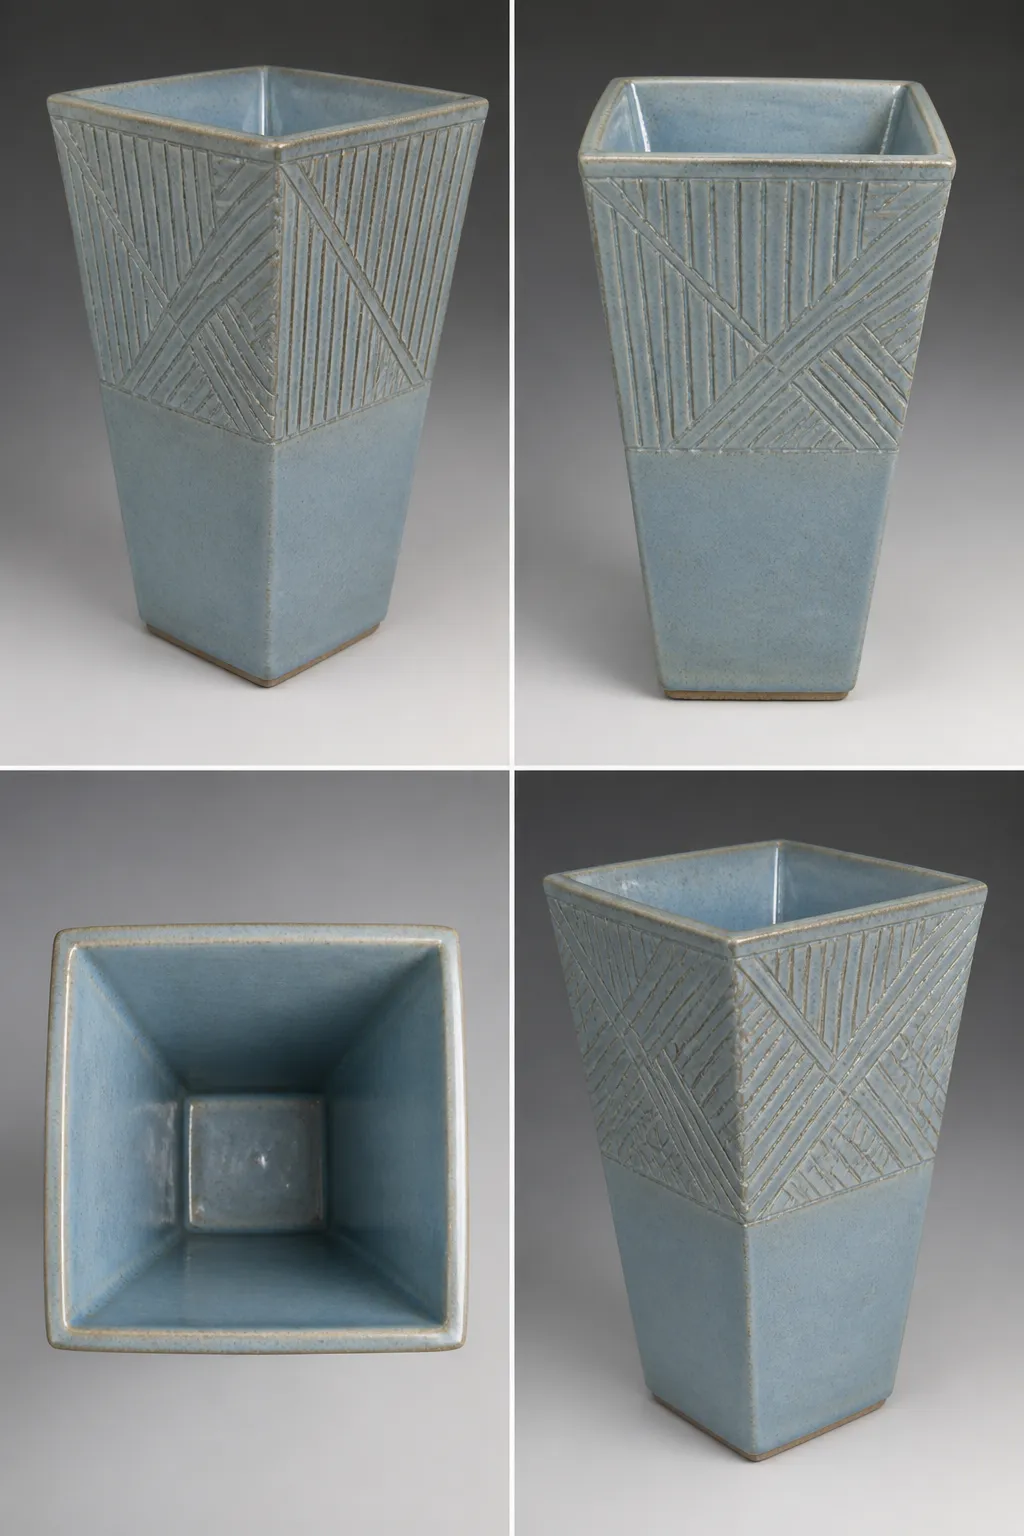 Joining panels when they are "leather-soft" helps reduce cracks in your joints. Don't forget to score and slip. Your project will continue to dry - slowly - passing to the "leather-hard" stage. Joining panels when they are "leather-soft" helps reduce cracks in your joints. Don't forget to score and slip. Your project will continue to dry - slowly - passing to the "leather-hard" stage. |
5. Score and slip the edges |
9. Dry slowly
- Let the pot dry evenly to avoid cracking.
- Cover loosely with plastic if needed.
(Drying slowly: plastic clay > leather-soft > leather-hard > bone dry. Your work must be completely dry so that moisture cannot be converted to steam in the kiln, thereby causing your pottery to crack, or even explode.)
10. Fire and glaze
- First, bisque fire (your pottery will be permanent but porous);
- then apply glaze (by brushing, pouring, or dipping);
- next, glaze fire (your pottery will become harder, denser and will be coated with a glass-like layer, according to your choice of glaze).
Tips:
- Keep the slab thickness even.
- Don’t use too much water.
- Compress the clay to reduce cracking.
- Smooth inside and outside seams well.